The rotors job in disc brake systems is to provide something for the caliper and pads to clamp on. This creates friction and friction helps stop the vehicle.
Rotors must be smooth and flat for proper braking and capable of absorbing and dissipating a lot of heat. Vented rotors have cooling fins between the rotor faces and solid rotors do not.
When rotors are worn unevenly or have hard spots that are causing pedal pulsation when you apply the brakes, it’s probably time to resurface the rotors. If you find the rotors are rough or badly scored, it’s also a pretty good idea to turn the rotors. However, if they are cracked or damaged, you need to replace rotors.
When you are checking your brakes, you should also check the rotor thickness. Use a micrometer to make sure they are not worn beyond the minimum “safe” specification. In this photo, I just used a set of Central Tools (3M113) 0 to 3″ Storm Swiss Micrometers to check the specifications. Mind you, this was a new rotor, but it’s important to check for flatness. According to the shop manual for an 88 Chevrolet Camaro. “Thickness variation can be checked by measuring the thickness of the rotor at four or more points around the circumference of the rotor. All measurements must be made at the same distance in from the edge of the rotor. A rotor that varies by more than 0.013 mm (0.0005 inch) can cause pedal pulsation and/or front end vibration during brake applications. A rotor that does not meet these specifications should be refinished to specifications or replaced.” Imagine that! Such a small difference on one side of the rotor can cause pedal pulsation!
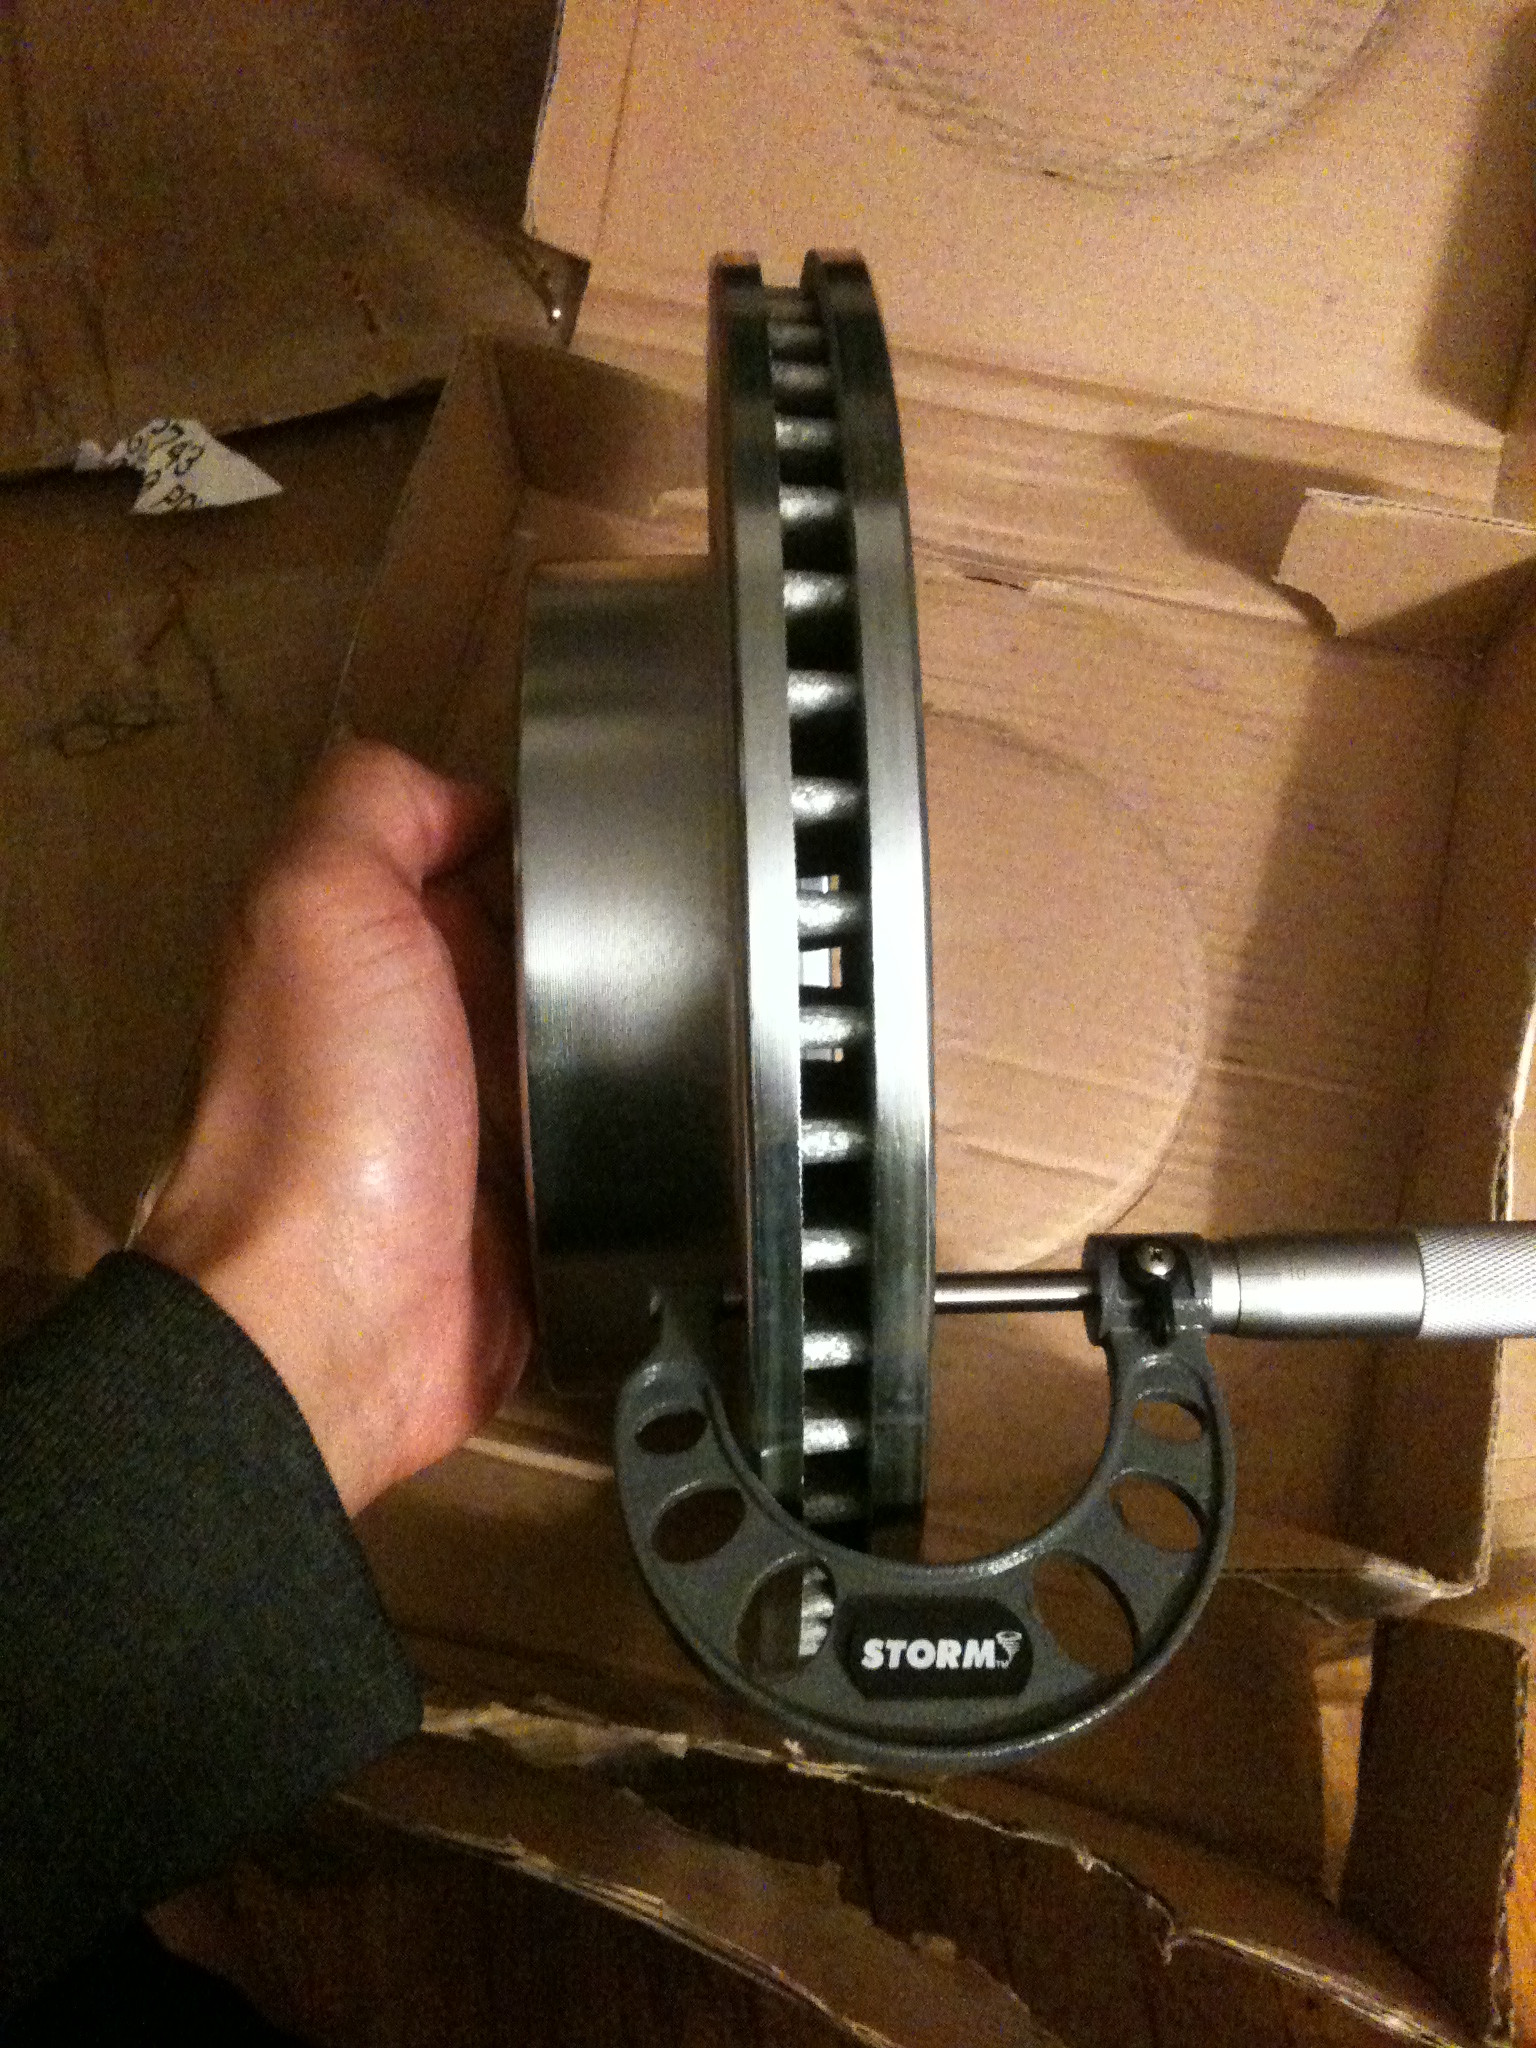
You can see the vents in the caliper from this picture. I am measuring the caliper here with a Central Tool Storm Value Line micrometer which you can buy here: Central Tools (3M113) 0 to 3″ Storm Swiss Micrometer
Here are some specs for Rotor Tolerance.
According to the Shop Manual for an 88 Camaro, the lateral runout of the rotor should not be over 0.13mm (0.005 inch.) A rotor that does not meet the lateral runout specifications should be resurfaced or replaced.
Front Disc Brake Rotor
Maximum Rotor thickness 26.5mm or 1.043″
Minimum Thickness after refinish 24.84 or 0.98″
Discard hickness. 24.5mm or 0.965″
Rear Disc Brake Rotor
Rotor Thickness Max 26.47mm or 1.042″
Minimum Thickness after refinish 25.04mm or 0.986″
Discard Thickness 24.3mm or 0.956″
Light scoring of the rotor surfaces not exceeding 0.38mm (0.015 inch) in depth, which may result from normal use, will not affect brake operation.
You maybe wondering why there is a discard thickness. The reason is that a rotor that is turned too thin or worn may not be able to absorb and dissipate heat quickly. This can make the brakes run hot, accelerate pad wear and reduce braking effectiveness to the point of brake fade. Too much heat and the rotor itself may fail in operation!
Another thing to check for is rotor run out. Lateral run out is the movement of the rotor from side to side as it turns. Excessive run out will kick the pads out as the rotor turns, creating excessive clearance that requires increased pedal travel when the brakes are applied.
The instructions in the manual says that the lateral run out should not be over 0.005 inch.
As for Rotor surface finish, the manual says that light scoring of the rotor surfaces not exceeding 0.38mm (0.015 inch) in depth, which may result from normal use, will not affect brake operation. The optimum speed for refinishing braking surfaces is a spindle speed of 200 rpm. Crossfeed for rough cutting should range from 0.254-0.152mm (0.010-0.006 inch) per revolution. Finish cuts should be made at crossfeeds no greater than 0.051mm (0.002 inch) per revolution. Always use sharp cutting tools or bits! Dull or worn tools leave a poor surface finish which will affect initial braking performance. Vibration dampening attachments should always be used when refinishing braking surfaces. These attachments eliminate tool chatter and will result in better surface finish.
Mike Mavrigian and Larry Carley wrote in Brake Systems: OEM & Racing Brake Technology some interesting tips
1. Applying a non-directional swirl or cross hatch finish by lightly sanding the rotors with #120 or #150 grit sandpaper after the rotors have been turned is a good way to guarantee quiet operation.
2. Clean the rotors after they have been resurfaced. The microscopic debris that’s left on the surface of the rotors can become embedded in new pads, causing them to squeal. use soapy water, a stiff brush and then dry the rotors before they are installed. Brake cleaner and solvents do as thorough a job. (I’m assuming because they don’t actually scrub the brake rotor.)
3. Rotor run out is usually fixed by going to the dealership to get an on car rotor resurfacing.
4. To tell if the rotor is smooth enough after its been resurfaced, give it the “ballpoint pen” test. Draw a line on the rotor with an ordinary ballpoint pen. If it leaves an unbroken line, the rotor should be smooth enough. If not, take it back to have them redo the job.
5. Apply heat emitter coating to the vanes
6. Stress relief the rotor using cryogenics or vibratory stress relief. This will help prevent rotor warping and heat-cracking.
7. Some rotor hats have a black coating. Don’t remove or paint over this coating. Black will help to promote heat dissipation from the hat. Also, this may be a special heat emitter coating.
Rotor Bedding:
Use pads that have already been bedded. Use the brakes gently at first from initially low speeds, and progressively increase to normal racing speeds, but continue to use gentle braking pressure when applying the brakes. Do this for about 10 miles or so. After this, apply the brakes hard for 3 applications. During this final braking, you want to raise rotor temperature to at least 600 degrees F., and possibly up to about 800-1000 degrees. (You need to apply temperature indicating paint for this procedures.)
New rotors are referred to as “green” rotors, and require a slow break-in period. Don’t hammer new rotors on the first few laps. Allow them to build head slowly, eventually up to race temps, then allow them to cool completely.
After that, change your pads and repeat the above process with new pads.
However, I’ve noticed different bed in procedures depending on the manufacturer and you should consult the manufacturer of your bedding procedures.
For example, my manufacturer recommended the following procedure for the rotors:
1. Make 6-10 stop at approximately 30-45 mph,
apply moderate pressure
2. Continue with 2-3 hard stops at approximately
40-45 mph
3. Do not drag the brakes
4. Let your brakes cool for about
20-30 minutes.
When I asked them about the used or new pads they replied:
It would be best to use the new pads or the pads you are planning on using so the brake pads can also break in and embed with the rotors.
So contact the manufacturer of your rotor and ask!